|
|||||||||||||||||||||
|
|
|
|||||||||||||||||||||
|
|
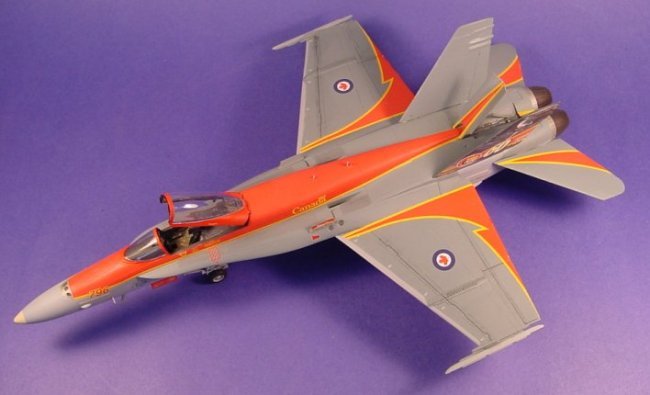
1/48 Revell F-18C converted to CF-18A 2001 demobird I started by rescribing the entire jet and removing a few bumps off the tail section and the spine. This was my first at time trying to rescribe an entire model and it turned out very nice.
The next area that had to be looked at was the nose gear. The Revell kit's gear is too high and gives the kit a nose up attitude. I used photos for reference of the right attitude and cut the gear until it sat just right. The fuselage missile rail is also too long. I decided to cut the rail to the right length and then use squadron putty to blend the 2 ends together until it looked seamless. I did go the easy route and used a Hasegawa CF-18 decal for the spotlight that is located on the port side between the nose cone and cockpit.
All in all, I was very pleased with the end result and displaying a rescribed Revell ($25.00) kit beside a $70-80.00 Hasegawa kit it is hard to see the difference. Many thanks to Dave Koss at Leading Edge for making these brilliant demobird decals. Derek Heyes
|
|
Photos and text © by Derek Heyes