|
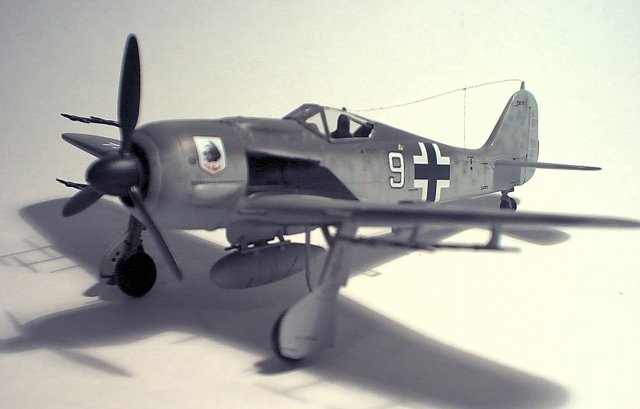
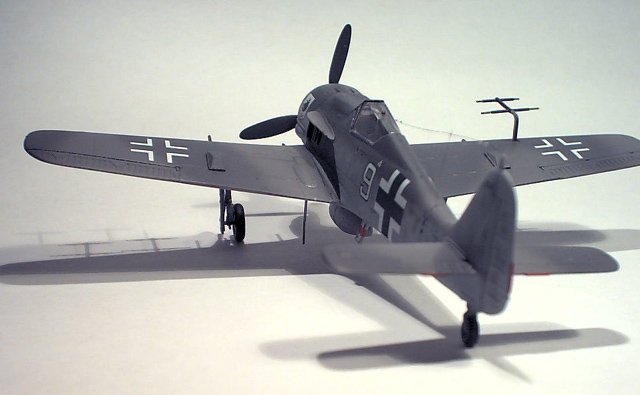
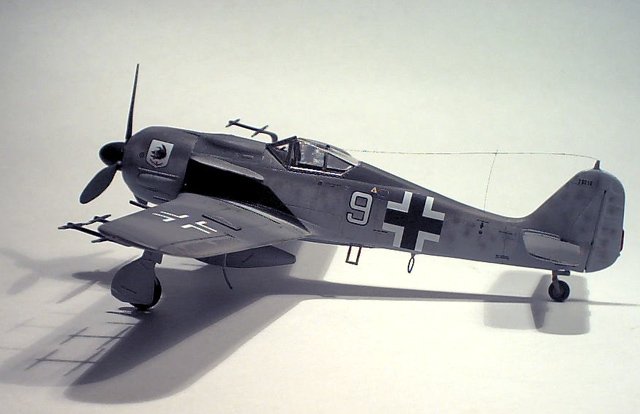
1:72 Scale Revell
Fw190A-8/R-11
Nachtjagderschwader
10
Oberfeldwebel
Migge
Werneuchen, 1944
The Fw190 A-8/R-11
variant, unlike the A-8, had a BMW 801 TU 2000 hp engine and modified armament
with two 131 and four 151/20 machine guns. From the summer f 1943 a night
fighter intercept system was introduced. This system enabled the day
fighters to be guided at night via the ground radar, the so-called "Wild
Sow". From 1944 the newly established night fighter unit 10
experimented with the FuG217 Neptune J-20 or the FuG218 Neptune J-3. To
improve the camouflage, the tail pipes were equipped with flame dampers.
With a maximum take-off weight of 4460 kg and BMW 801 twin radial engines, the
Fw 190 could reach a max. speed of 460 km/h in 6200 m. The service ceiling
was 10200 m and the range was 1450 km.
Revell Germany has
quite a few of these 1:72 scale German fighters. If you can pick them up
at K-Mart or Target for around $5.00 Australian, that is a bargain. The
kits are well detailed and the fit is very exceptional. The only complaint
I really had with this kit is that the canopy can not be left open. In
order to open the canopy you would need to cut away at the frame which is molded
to the fuselage. The kit can be molded as the R-11 or the A-8, I chose the
R-11 Nachtjager.
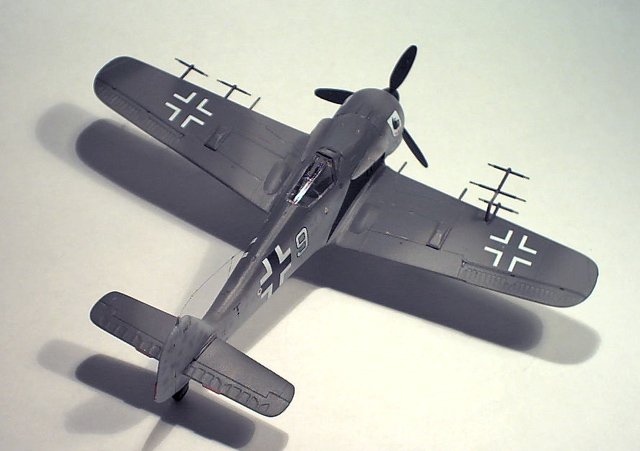
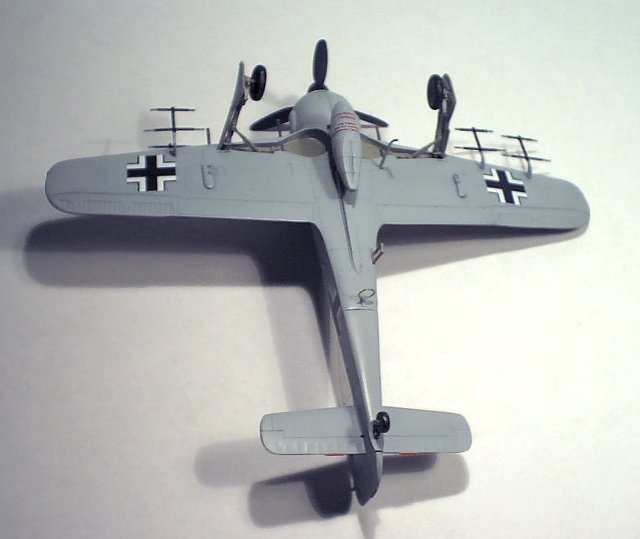
The instructions
point out where holes need to be carefully opened for the FuG217 antennae, and
these must be made before gluing the wings together. Once all the holes
have been made, then the focus is on the cockpit. The cockpit including
the dash board offer some decent detail, although it will be hardly noticeable
with the canopy closed. I went ahead and spent some time on it, painting
the interior RLM 66 black grey, and picking out all the details on the
dash board and side consuls with flat black, flat white and red. When the
gauges had been pained I place small drops of Crystal Clear to simulate glass.
Since I was painting the interior with the RLM 66, I went ahead and sprayed the
insides of the fuselage, wheel wells and wheel covers with RLM 02 grey.
The photos below are of the model being dry fitted.
The overall fit of
the kit was pretty good, the only areas to pay some attention to are the wing to
fuselage joints. I need to fill one side with putty and carefully sand it,
trying to avoid sanding off the minor details around the wing roots. I use
fine sand paper and then finger nail files with the buffing and polishing sides
to smooth out any fine scratches in the plastic. I built everything up
except for the landing gear and canopy and then painted it. I started out
by preshading the panel lines using Gunze Flat Black, when the panel lines were
done I proceeded with Gunze RLM 76 Light Blue, and sprayed a light coat over the
undersurface and most of the fuselage and tail. I was careful not to apply
too much paint on the first coat.
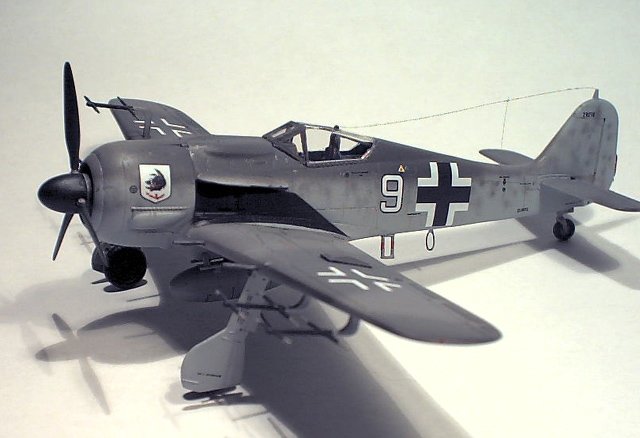
A point I try to
keep in mind is when I have to paint mottling on a German Fighter, I always
prepare to cover up some of the spots that come out too dark with the RLM 76, so
I don't go too heavy with the first coat, otherwise I end up with too much paint
on the fuselage by the time I am finished. After the RLM 76 was sprayed on
I preceded with RLM 75 only masking around the tail section and canopy and
carefully mottling the sides of the plane. The1:72 scale Luft fighters are
definitely a challenge to paint. You really have to work with the settings
on the dual action airbrushes to get the mottling just right. After the
RLM 75 was finished I sprayed on the RLM 74. I only had to spray a
bit of the RLM 76 in a few spots to tone down some of the mottling and when this
was finished I allowed the kit to dry over night. While the plane was
drying in the house I brought out the propeller, nose cone, wheels and the
landing gear, and went ahead and sprayed all of them.
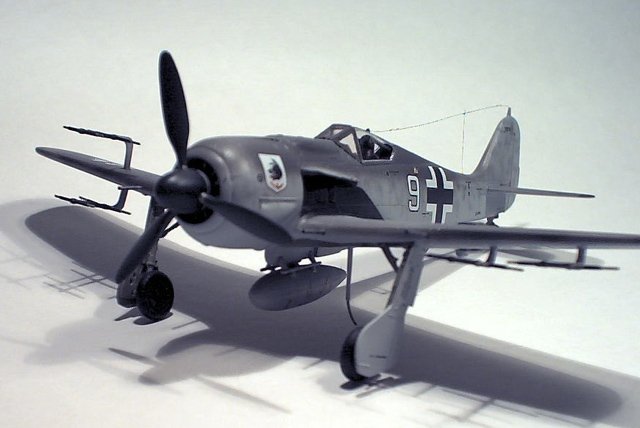
The following day, I
finished up with the landing gear and propeller, and then sprayed a couple of
coats of Shine Magic, to give the plane a nice glossy finish and allowed this to
dry and the same evening applied the decals, which went on perfectly, with a bit
of Micro Sol to settle them into the panel lines. The only draw back to the
decals is that they do not include swastikas. The following day I sprayed
two more light coats of Shine Magic in the morning, and then the same evening I
sprayed a couple of coats of Shine Magic Mixed with Tamiya Flat Base in around a
7:1 ratio. The mixture of Shine Magic and Tamiya Flat Base depends on the
size of the mixing jar and how matte you wish the plane to be. If
you notice that the finish is turning powdery then you need to add more of the
Shine Magic and if it comes out to satiny then you need to add more Flat Base. The
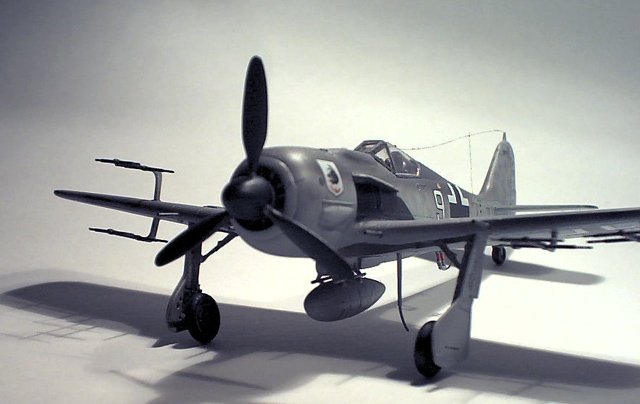
final details involved dipping my canopy into Shine Magic and brush painting it
with RLM 74, and adding paint chips with silver pencil and shading some panel
lines with pastels as well as adding some oil drips and rust stains with
pastels.
All in all the kit
turned out to look pretty interesting and I welcome it to my collection of
Luftwaffe Fighters
Anthony
(click on
the image below to load the full size photo)
(use your
back button to return to this page after viewing full size photo)
|