|
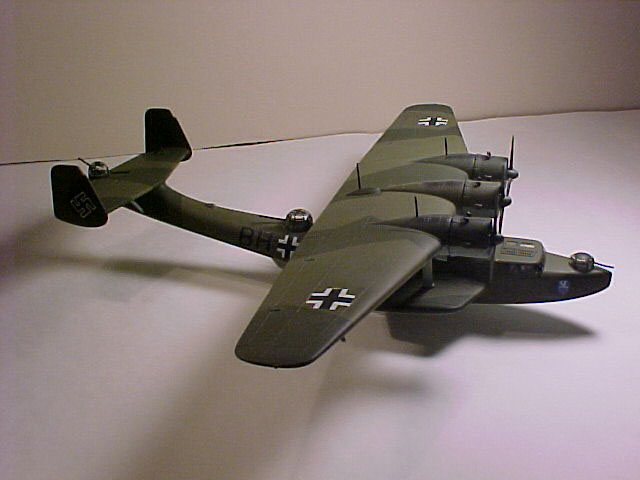
This is Italeri's Dornier DO-24 -T Reconaissance
Seaplane kit no. 122 in 1/72 scale. The kit took me approximately 22-26 hours to
build due to the masking involved around the kit's many clear parts and Splinter
Camouflage. It went together very well for the most part and has very nice
recessed panel detail. A modeler should be careful with the main wing bracing to
ensure the proper alignment to the fuselage. This is where a pinch of prevention
is worth a pound of cure, so dry fit before gluing! Also, great care must be
taken with the turrets and fuselage windows since they must be installed when
gluing the fuselage halves together. Other than that, its a pretty straight
forward build, with good fit and no hassles. The decals are very thin and
delicate and tend to silver, but not as bad as on my other Italeri kit, the
JU-188.
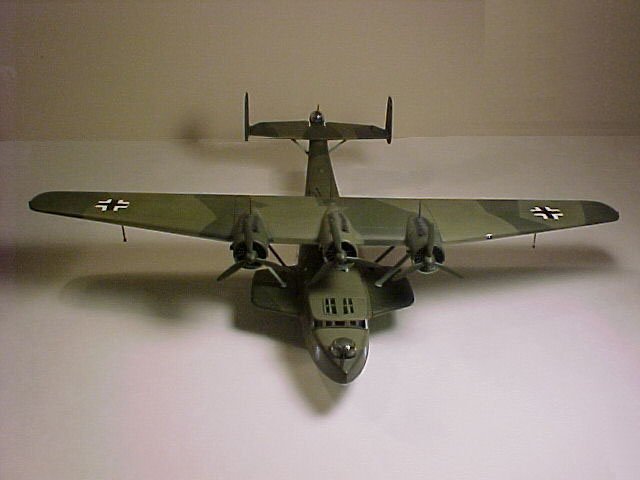
The wings and tail surfaces went together without
a hitch. The wing is six pieces all together consisting of a center and two
outer sections which builds true and straight. The tail consists of seven pieces
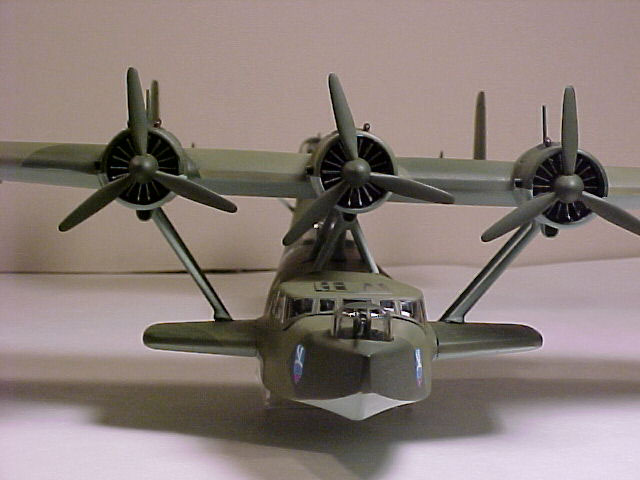
and builds up nicely also. The engines went together nicely and can be painted
and added later to the model, a great feature. The gearbox housing was painted
in panzer gray with black cylinders and silver pushrod details. The props and
spinners were painted RLM 70 Schwarzgrun The exhaust pipes were given a wash of
red/brown and given a mist of tire black for exhaust stains. The fuselage also
goes together with a good fit, but as I stated before, the clear parts (windows)
and turrets must be installed while joining the fuselage halves. You must be
very careful not to get any glue on the turrets at this time. I would have
preferred that the kit be designed so that the turrets be added on later, but
its definitely a do-able thing. Thank goodness for patience and Tamiya masking
tape!
The cockpit area is very basic and
scratchbuilders could dress it up a bit more than I did . I painted mine in RLM
02 Grau and drybrushed some details in a darkened RLM 02 Grau. I also added some
masking tape seatbelts to add some detail to the basic interior. The canopy
framing was simple to mask about 1/2 hour to mask and paint. It was prepped with
Future acrylic and was allowed to dry thoroughly for 2 days before it was
handled. A similar technique was used for the three turrets. The main fuselage
round windows were masked with Tamiya masking tape.
The kit calls for the model to be painted with
reference to Model Master enamel paints. I used Aeromaster and Tamiya acrylics
to paint my model with. I noticed that the painting instructions have some
inaccuracies according to my references. The cockpit should be painted RLM 02
Grau. The main early war Splinter Camouflage colors should be RLM 70 Schwarzgrun
and RLM 71 Dunklegrun. The bottom color should be RLM 65 Hellblau.
When the model was painted to my satisfaction, I
sprayed a few thin coats of Future to prep for decaling. The kit offers three
different decal options. It can be built as a Luftwaffe aircraft of the III
Seenot Gruppe, 1942, Swedish Air Force, or Dutch Air Force. Being an avid
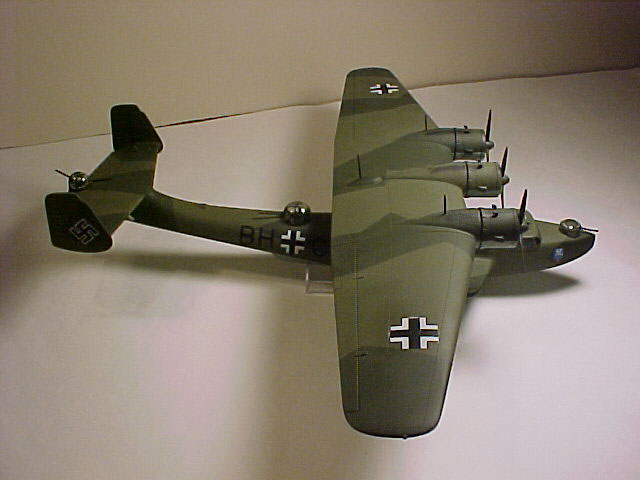
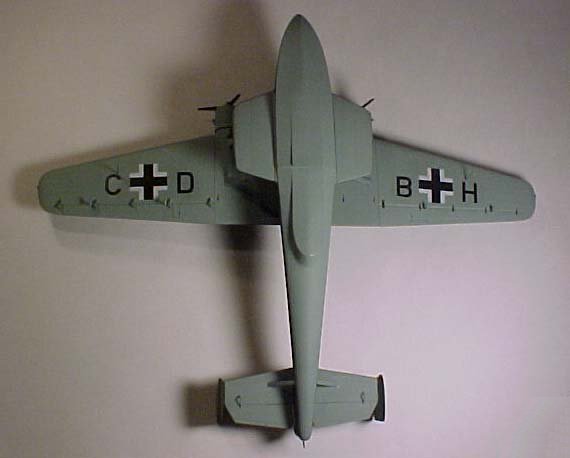
Luftwaffe fan, I choose to do mine as such. There is an inaccuracy in the upper
wing Balkenkruze decals, so I added some from my spares box. The kit's upper
decals portray a later war style cross and must be corrected. I also added
swastikas to the tail from my spare parts box, since the kit does not supply
them . The decals were very thin and delicate and went on nicely with some
setting solution, but again when they dried ,there was some slight silvering.
Overall, this was a very enjoyable
kit to build despite all the masking. It turns into a fine replica of the DO-24
that can be proudly displayed in anyone's model case. I enjoyed doing the early
war Splinter Camouflage as a break from the late war RLM 74/75/76 paint jobs
I've been doing lately. I give this kit a solid 4 stars out of 5 on the Tony's
Scale of Models. I'd like to thank Italeri and the Three Steves at the Aircraft
Resource Center for supplying this kit for my review and build. Stay tuned for
more of my reviews and models here, Same ARC channel, Same ARC Time!
Tony
(click on the thumbnails below to view the full size
images)
|